How to add an Avatar In Your 360 Virtual Tour Software?

0 Shares
0

Step-by-Step Guide for Adding an Avatar in your  360 Virtual Tour Software.

Step 1: Access the Tour Editor Section

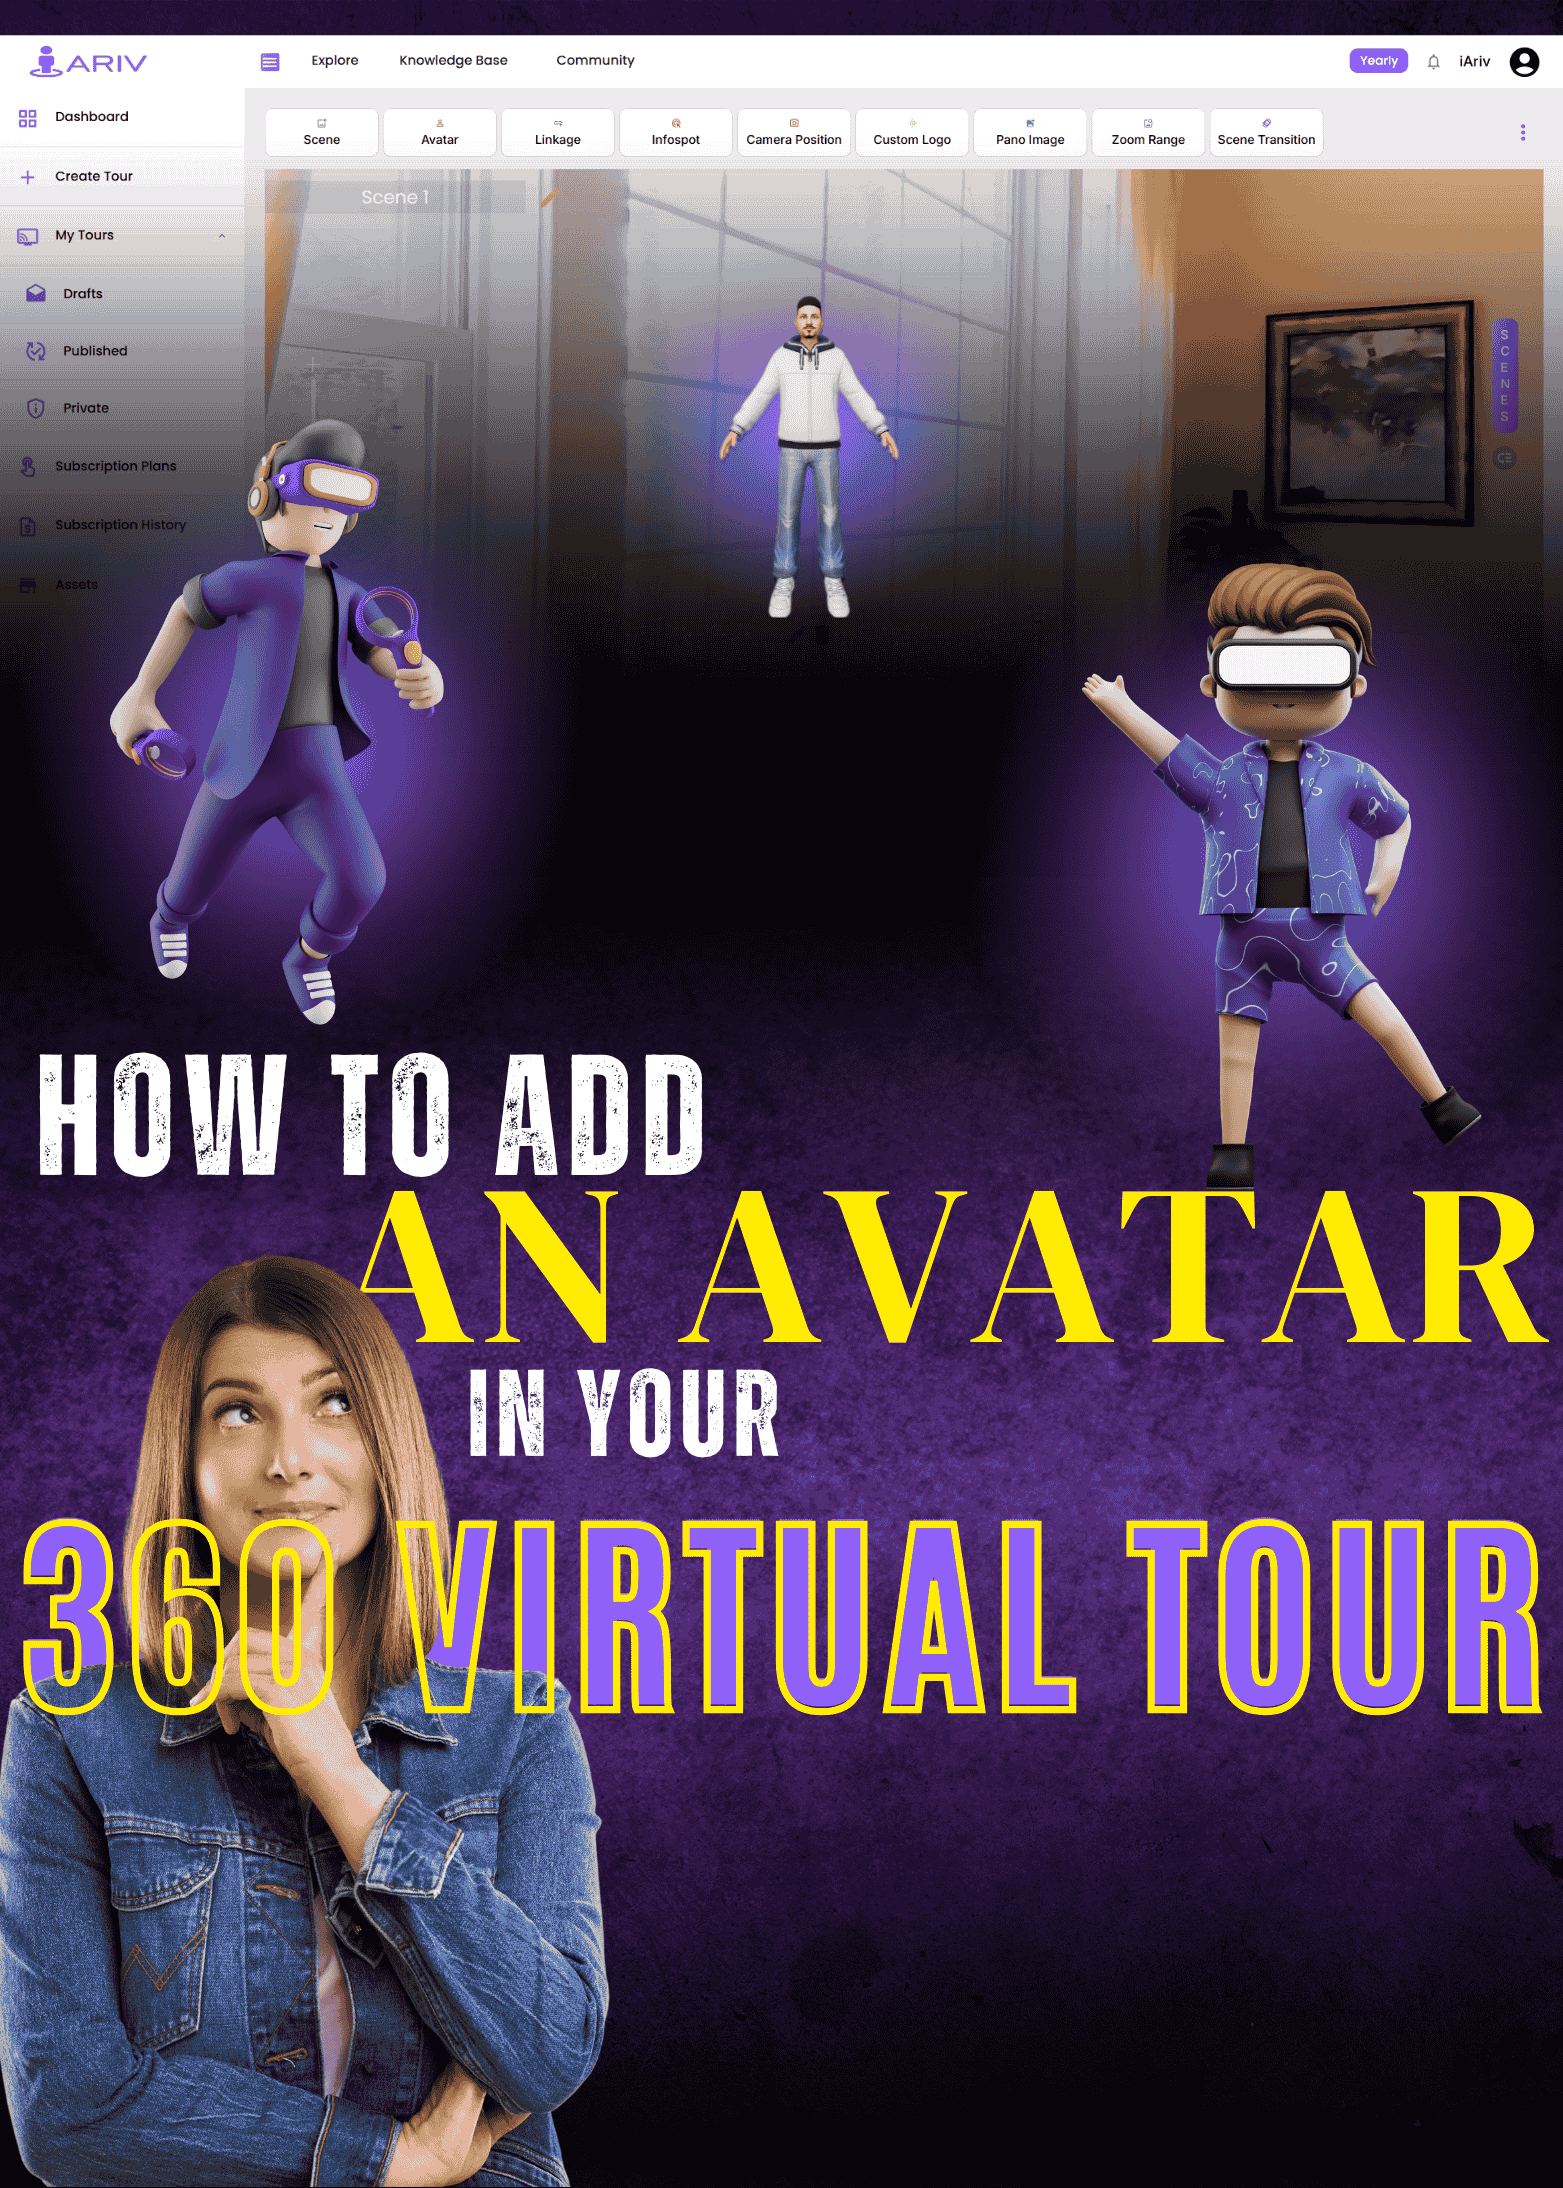
  • Log In to iAriv: Open your web browser and log in to your iAriv account.
  • Navigate to Assets: On your dashboard, click the My Tour page and go to the tour editor option to access the avatar chatbot section.

Navigate to the Add Avatar Feature 

  • Click on the “Add Avatar” button in the top bar above the scene in Edit View. This will redirect you to the Add Avatar dialog box.

Choose Your Avatar

  • On the Add Avatar dialog box, browse through the available avatars.
  • Click on the Avatar thumbnail to select the avatar.
Avatar Editor

Select Avatar Speech

  • Upload Audio File: If you have a pre-recorded audio file, upload it by selecting the appropriate option.
  • Manual Speech Input: If you prefer, type your speech manually. The avatar will convert the text to speech.

Finalize and Add Avatar

  • After selecting your avatar and configuring the speech, click the “Add Avatar” button.
  • The selected avatar will be added to your 360 Tour scenes and will appear in the scene.

Manage Avatar Speech

  • The 360 Tour includes options to mute or unmute the avatar’s speech, allowing you to control the audio output as needed.

Avatar Preview

Avatar Preview
Avatar Preview

Avatar in Tour Editor

Avatar
Avatar

By following these steps, you can seamlessly integrate an avatar into your 360 Tour on iAriv, enhancing the immersive experience for your viewers.

0 Shares
Leave a Reply

Your email address will not be published. Required fields are marked *

You May Also Like